
Uploading Documents to the File Manager
First, log into Catapult and select the page you want to work on.
At the top of the landing page, you’ll see a white bar with a DOCUMENTS button. Click it to open the File Manager, where you can view all your uploaded documents. The right panel shows details for each file.

Here’s how to upload a document:
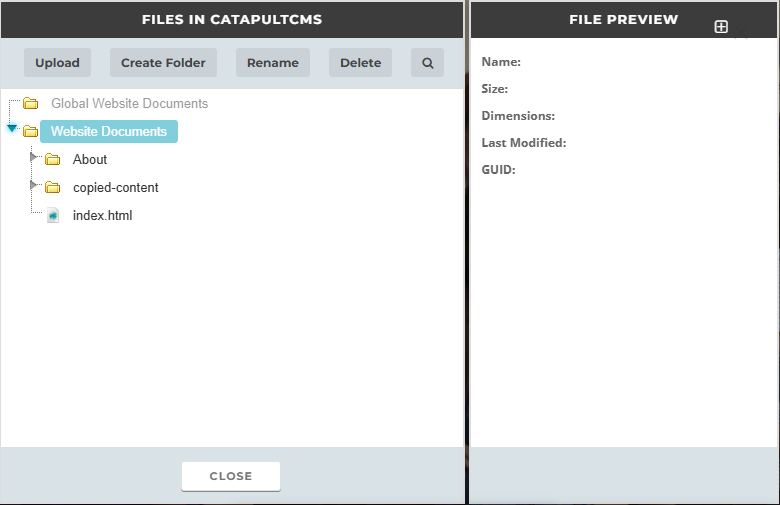
- Step 1: Click CREATE FOLDER or select an existing folder (e.g., “Board Agendas”).
- Step 2: Name your folder and click OK.
- Step 3: Click UPLOAD. A window will open, showing files on your computer.
- Step 4: Select the files you want to upload. They will appear in the upload window.
- Step 5: After selecting all the documents, click SAVE. Your uploaded documents will now appear under the folder you chose.


If you need to delete any folders or files, select the folder or document and click the DELETE button in the File Manager.

Note: Each file must be under 100 MB, and your uploads won’t be saved until you click the green SAVE button in the File Manager.
Uploading a Document Within a Text Element
You can also upload documents directly on the page you're editing:
- Step 1: Click inside the text element where you want to add the link.
- Step 2: Highlight the document name and click the LINK icon.
- Step 3: In the Edit Link window that pops up, select DOCUMENT from the dropdown menu.
- Step 4: Another window will let you choose DOCUMENTS from your computer or GOOGLE DRIVE (if you have a connected account).

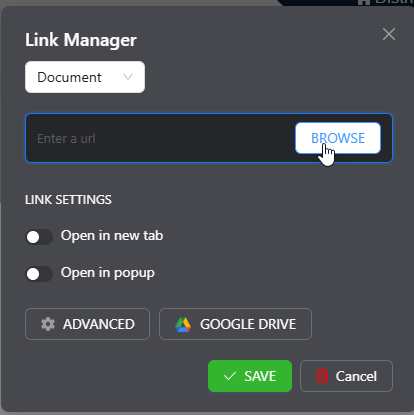
Once you select your file, you can choose how the document link opens:
- TARGET: Select whether the document should open in the Current Window (default), New Window, or Pop-Up Window. We recommend choosing NEW WINDOW, so your website remains open if the document window is closed.
That’s it! You’ve successfully uploaded and linked your documents. Happy editing!